Make a bookbinding punching template that fits your notebook.
A narrow paper guide lets you transfer the same hole positions to your folded section. Here is a three-hole example you can adapt with the free generator.
Make my template →What this guide covers
We are marking holes for a single-section pamphlet: sheets folded together into one booklet. This is a measuring and printing guide, not a sewing tutorial. French-link, Coptic and Japanese structures need their own hole arrangements.
1. Measure the height along the fold
Fold your notebook paper and measure the length of its spine. Enter that measurement in the generator. Do not enter the width of the open sheet.
For this example, the folded spine is 210 mm tall. Choose 3 holes and an end margin of 15 mm. The end margin is measured from each end of the spine to the nearest hole; it is an adjustable example, not a universal binding rule.
2. Read the hole positions from the top
The generator divides the space between the outer holes evenly. In this example, spacing is (210 − 2 × 15) ÷ 2 = 90 mm.
| Hole | Distance from top |
|---|---|
| 1 | 15 mm |
| 2 | 105 mm |
| 3 | 195 mm |
These labels are positions from the top, not distances between neighbouring holes. The bottom hole is 15 mm above the bottom edge.
3. Print at actual size
Choose A4 or US Letter to match your printer paper. Select Print / Save as PDF. In the print dialog, select 100% / Actual size, turn off “Fit to page” and disable browser headers and footers.
Measure the separate line labelled “CHECK: this line must measure 50 mm” near the bottom of the printed sheet. It must measure 5 cm. A hole label such as “3 · 195.0 mm” is not the calibration line.
4. Align and test the guide
Cut out the outlined strip. Match its top edge to the top of the folded section, with the dashed centre line along the fold. Keep this orientation when transferring the marks. Test on a spare folded sheet before working on your notebook, and use a suitable cradle or protective support when punching.
A visual walkthrough
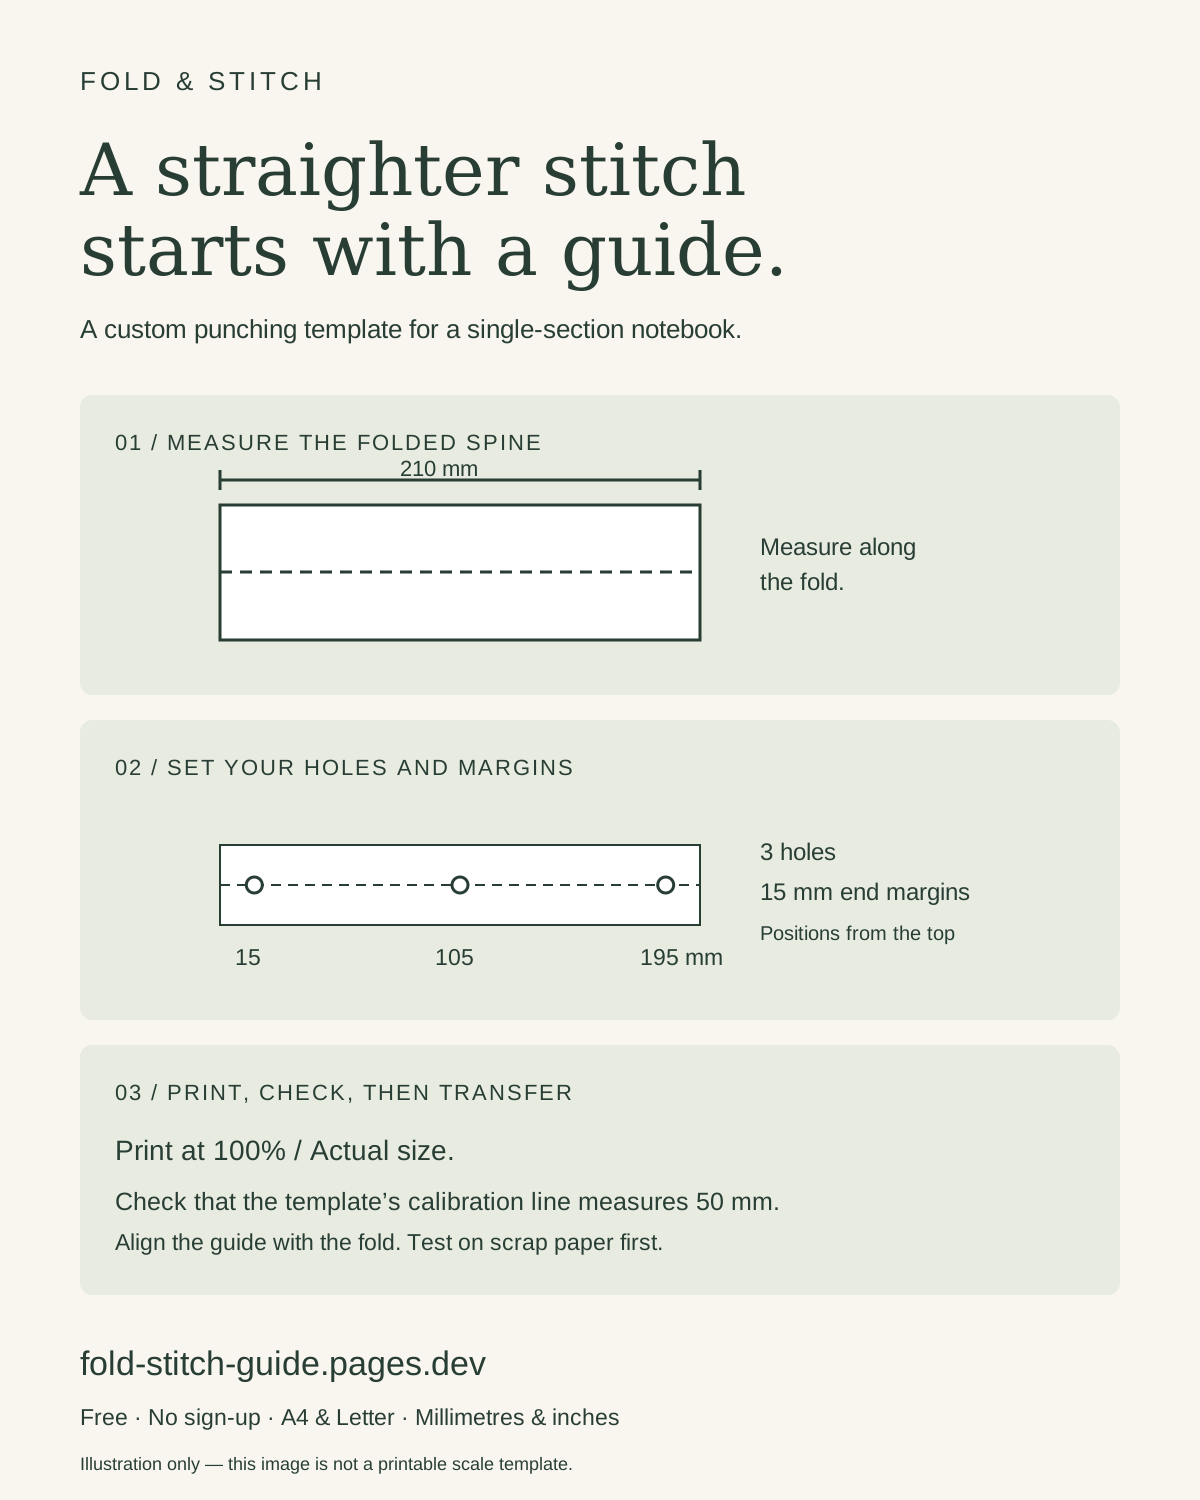
The illustration above explains the process. It is not a scale template. Generate your own printable guide using your measurements.
If something does not line up
- The calibration line is not 5 cm: check paper size and print scaling before using the guide.
- The centre hole seems off: measure from the top edge of the guide, not from the first hole.
- Different sheets have different marks: check that the same top edge and fold are aligned every time.
- The template will not generate: A4 supports spine heights of 40–250 mm; Letter supports 40–239 mm. End margins and hole spacing must each be at least 5 mm.
Ready to try it?
Start with your spine measurement and generate a guide that fits it.
Open the free punching template generator →
Continue learning
For sewing instructions, see Donna Reiss’s pamphlet-stitch handout hosted by Clemson University. For more zine-making resources, visit Evergreen State College’s zine guide. Our adjustable example is separate from those resources.
Calculations and template measurements stay in your browser. Cloudflare Web Analytics provides aggregate visit and performance statistics.